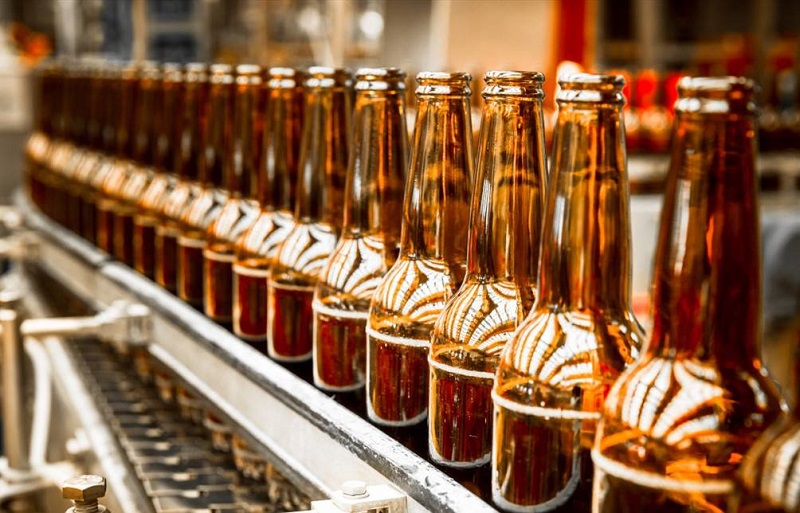
Introduction: The KING WHALE DIY bottle filling machine is an innovative project that allows individuals to create their own bottling system for various liquids. This article will provide a step-by-step guide on how to build a bottle filling machine, focusing on the principles of operation, required materials and tools, detailed making steps, and safety precautions. By the end of this article, readers will have a comprehensive understanding of the DIY process and be equipped with the necessary knowledge to construct their own bottle filling machine.
-
Project Overview: The KING WHALE DIY bottle filling machine is a simple and efficient system designed to fill bottles with a desired liquid. It can be used for various applications, such as homebrewing, water bottling, or any other liquid dispensing needs. This project aims to provide a cost-effective solution for those who want to avoid purchasing commercial bottling equipment and have control over the bottling process.
-
Working Principle: The KING WHALE DIY bottle filling machine operates based on gravity and simple mechanics. The main components include a funnel, a hose, a switch, and a motor. When the switch is activated, the motor powers the pump, which in turn draws the liquid from the source container and transfers it into the bottle through the funnel and hose. The machine is designed to automatically stop filling once the bottle is full, preventing any overflow or waste.
-
Required Materials and Tools: To build the KING WHALE DIY bottle filling machine, you will need the following materials:
- Funnel
- Hose
- Motor
- Pump
- Switch
- Bottle
- Screwdriver
- Drill
- Adhesive
Tools required:
- Drill machine
- Screwdriver
- Wrenches
- Cutters
- Detailed Making Steps:
Step 1: Prepare the materials and tools Ensure that you have all the required materials and tools listed above before starting the construction of the bottle filling machine.
Step 2: Assemble the main components Attach the hose to the pump and then connect the pump to the motor. Make sure all connections are secure and tight.
Step 3: Attach the funnel to the hose Take the funnel and attach it to the hose, ensuring a tight seal. This will prevent any liquid from leaking during the filling process.
Step 4: Secure the motor and pump Use screws and appropriate fasteners to securely attach the motor and pump to a stable surface. This will ensure stability and prevent any movement during operation.
Step 5: Drill a hole in the bottle Take the bottle and drill a hole in the center of the bottle’s neck. Make sure the hole is clean and smooth to allow for a seamless connection with the hose.
Step 6: Insert the hose into the bottle Carefully insert the hose into the drilled hole, ensuring that it fits snugly and there are no air leaks.
Step 7: Connect the switch Connect the switch to the motor using appropriate wiring. This will allow you to control the operation of the bottle filling machine.
Step 8: Test the machine Turn on the switch and observe the machine in action. Ensure that the liquid is being dispensed correctly and that there are no leaks or malfunctions.
- Safety Precautions:
- Ensure that all components are securely attached before operation to prevent any accidents or damage.
- Handle the machine with care to avoid any injury or damage to the equipment.
- Use appropriate wiring and connections to prevent any electrical hazards.
- Do not immerse electrical components in liquid or expose them to water during operation.
- Regularly inspect and maintain the machine to ensure optimal performance and longevity.
Conclusion: In conclusion, the KING WHALE DIY bottle filling machine is a simple and efficient solution for individuals looking to create their own bottling system. By following the detailed steps provided in this article, you can construct your own bottle filling machine using minimal tools and materials. Remember to prioritize safety during the construction and operation of the machine, and regularly maintain the equipment for optimal performance. Happy bottling!

