When it comes to ensuring clean and safe drinking water, installing a purified water system is a crucial step. This guide will walk you through the installation process, offering detailed instructions and tips to help you set up your system efficiently. Whether you are a DIY enthusiast or seeking professional help, understanding the installation process will help you achieve the best results.
1. Understanding Your Purified Water System
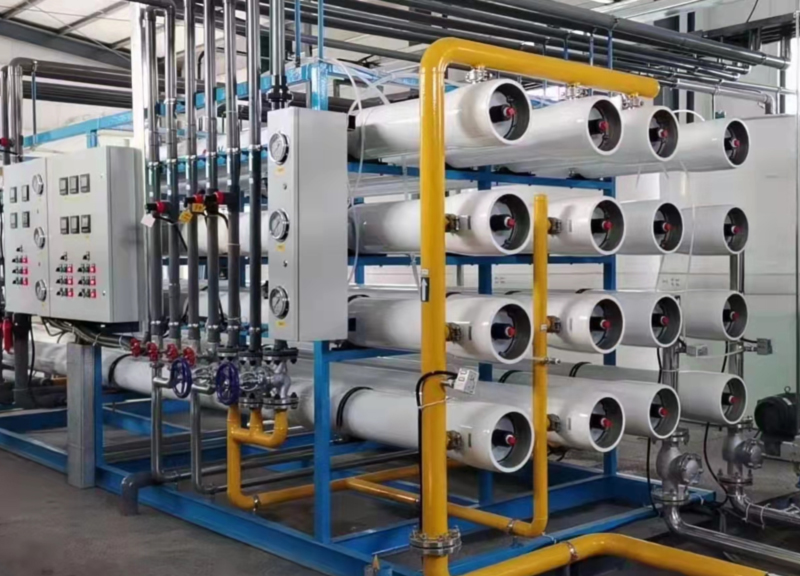
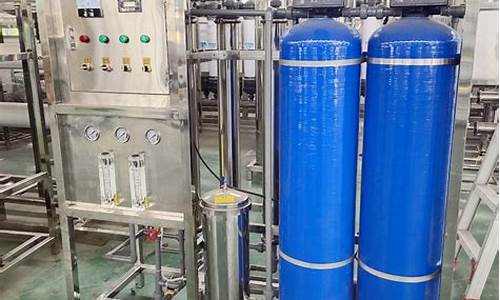
Before starting the installation, it's important to understand the type of purified water system you have chosen. There are various types, including reverse osmosis (RO) systems, distillation units, and UV purifiers. Each system has its own set of requirements and installation procedures. For instance, an RO system typically involves a multi-stage filtration process, including sediment filters, carbon filters, and a membrane filter. Familiarizing yourself with the components and their functions will make the installation process smoother and more efficient.
2. Preparing for Installation
Proper preparation is key to a successful installation. Begin by selecting an appropriate location for your purified water system. Ensure the area is close to a water source and has adequate space for the unit and its components. You should also gather all necessary tools and materials, which may include a wrench, screwdrivers, Teflon tape, and a drill.
The installation process generally involves the following steps:
1. Shutting Off the Water Supply: Before you begin, turn off the main water supply to avoid leaks and spills.
2. Mounting the System: Most purified water systems need to be mounted under the sink or in a designated area. Use the provided brackets and screws to secure the unit in place.
3. Connecting the Tubing: Connect the tubing from the water source to the system. Ensure that all connections are tight and secure to prevent leaks. Use Teflon tape on the threads to enhance the seal.
4. Installing the Faucet: If your system includes a dedicated faucet, install it on the sink or countertop. Follow the manufacturer’s instructions for proper placement and secure installation.
5. Testing the System: Once everything is connected, turn on the water supply and check for leaks. Run water through the system for a few minutes to ensure it is functioning correctly.
3. Maintenance and Troubleshooting
After installation, regular maintenance is essential to keep your purified water system in optimal condition. Here are some maintenance tips:
- Filter Replacement: Follow the manufacturer’s recommendations for replacing filters. Most systems require filter changes every 6-12 months.
- Cleaning: Periodically clean the system according to the manufacturer’s guidelines to prevent buildup and maintain performance.
- Troubleshooting: If you encounter issues such as low water flow or unusual tastes, consult the troubleshooting section of your system’s manual. Common issues include clogged filters or incorrect installation.
Regular maintenance will not only prolong the life of your system but also ensure that you consistently have access to clean and safe drinking water.
In conclusion, installing a purified water system involves understanding the system components, proper preparation, and following detailed installation steps. By adhering to these guidelines and performing regular maintenance, you can ensure that your water purification system operates effectively and provides you with clean drinking water for years to come. If you encounter any issues during installation or maintenance, don’t hesitate to seek professional assistance to ensure optimal performance and safety.

